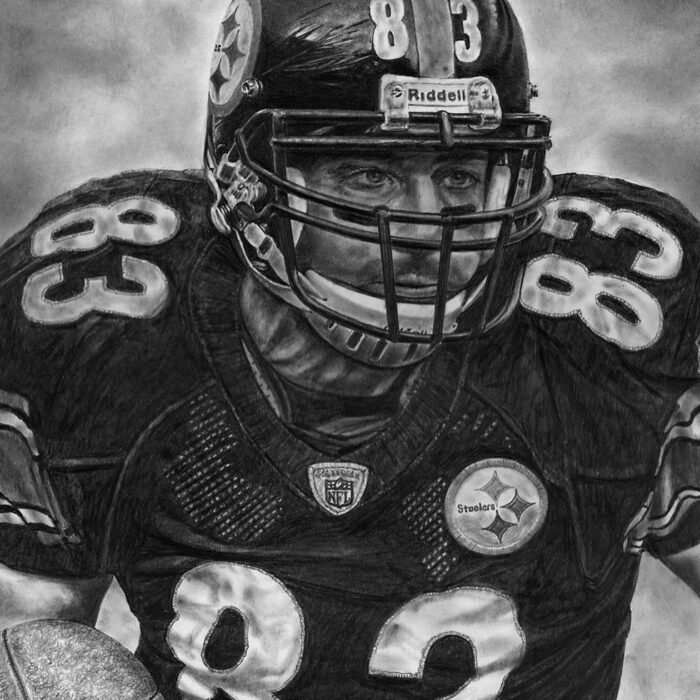
Earl Heath Miller Jr. (born October 22, 1982) is a former American football tight end…
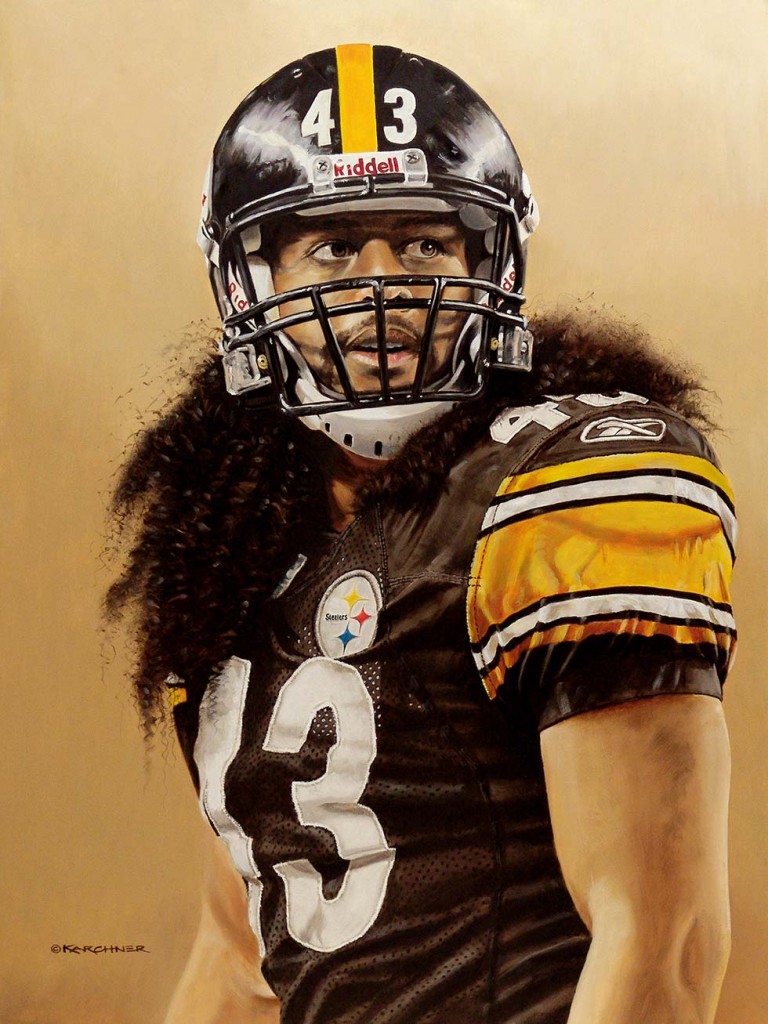
This is version one of my “work-in-progress” of Troy’s oil painting. This piece is being done on a specially prepared 1/8″ Masonite board. It is called “Claybord” manufactured by the Ampersand company. The board has a base layer of white clay, over-layed with a coating of Gesso. The surface is rather smooth. It has just enough tooth to help pull the paint from the brush. It is considerably more of a smoother surface than most canvas surfaces. The two biggest advantages are that the Masonite is a lot more stable and durable than a canvas and the smooth surface lets me get a more desirable “realistic” finished piece.
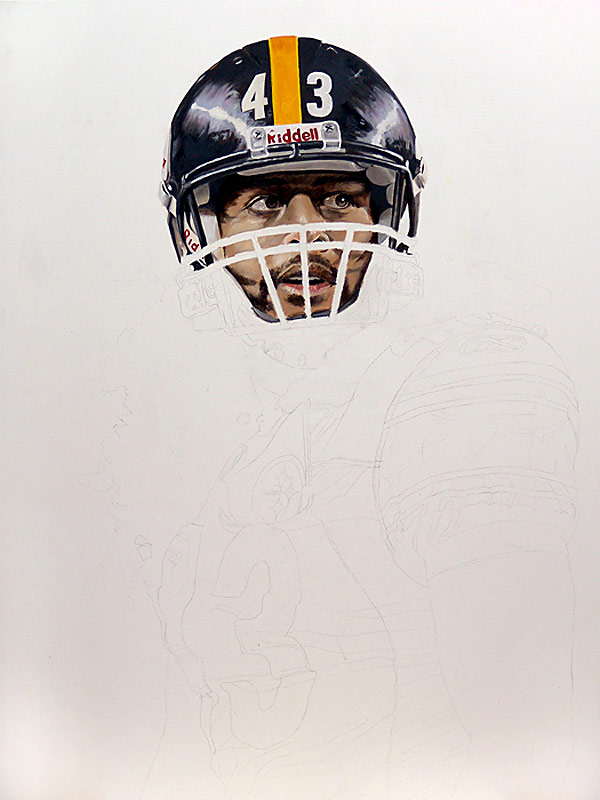
The oil painting is quite a bit bigger than the pencil study. Troy’s image is just shy of being life-size. The Claybord is 18″ x 24″ overall and I paint edge-to-edge.
After drawing all my lines on the board, I started painting Troy’s helmet and face. As you can see, having the face guard over his face gives an added challenge to make sure all the spaces between the bars look like they all look like they go with his face. It sounds simple but you are dealing with many different colors and shading in such small areas.The trick is to get his likeness to show through these small areas. One other thing that I am dealing with is, the bars from the face guard are casting shadows in several places on his flesh and chin strap. I have been told that he looks just like a “modern day warrior.” One reason other than he truly is, is the shadows from the bars almost give the appearance of war paint.
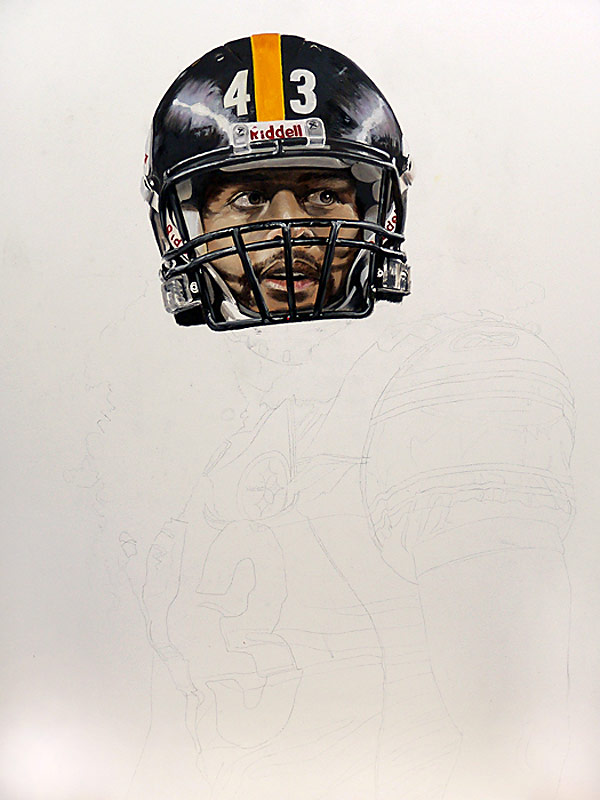
Here is version two. As you can see, I have roughed in the face guard bars. His face guard is so classic, like many of other Steeler face guards. They wear all the battle marks and polished wear. These are the kind of things that really bring a piece alive and say so much much about the person and how he plays the game, “In your face!!”
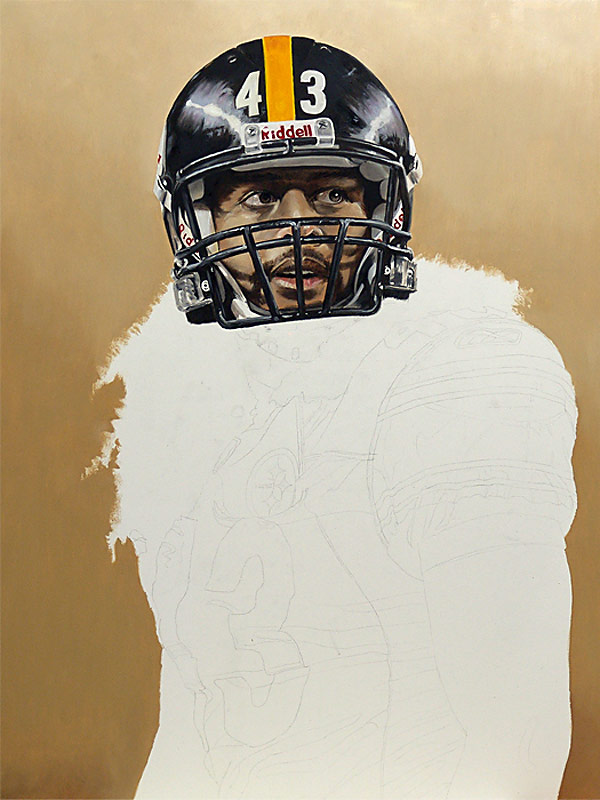
This is version three. I have done something different with Troy’s piece because of his hair. On an oil painting, I almost always paint in the background last. Because his hair is so fine and dark, I switched it up and painted in the faded background first. Most of my pencil study backgrounds are almost always done on the very first step after drawing my lines in.
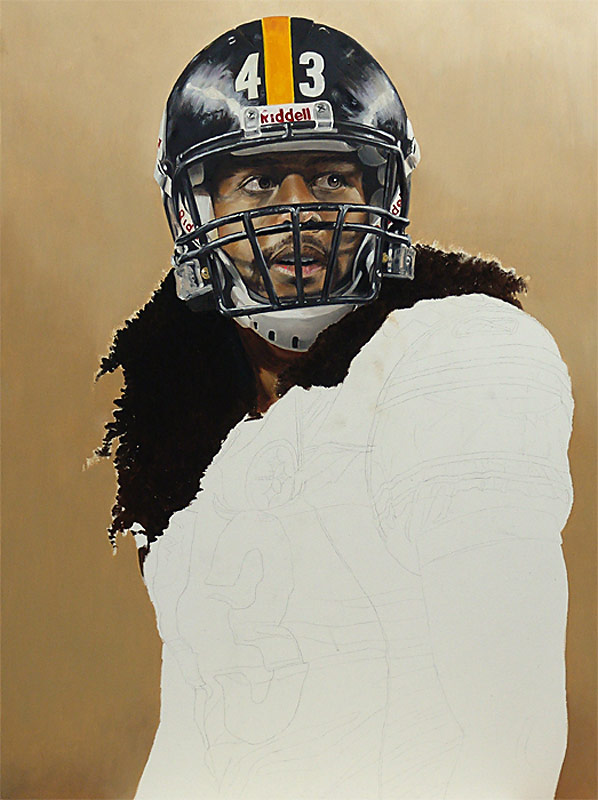
This is version 4. On my pencil study, I draw all the dark shadows between the hair over a lightly rubbed surface. Here, I lay down a solid dark area.
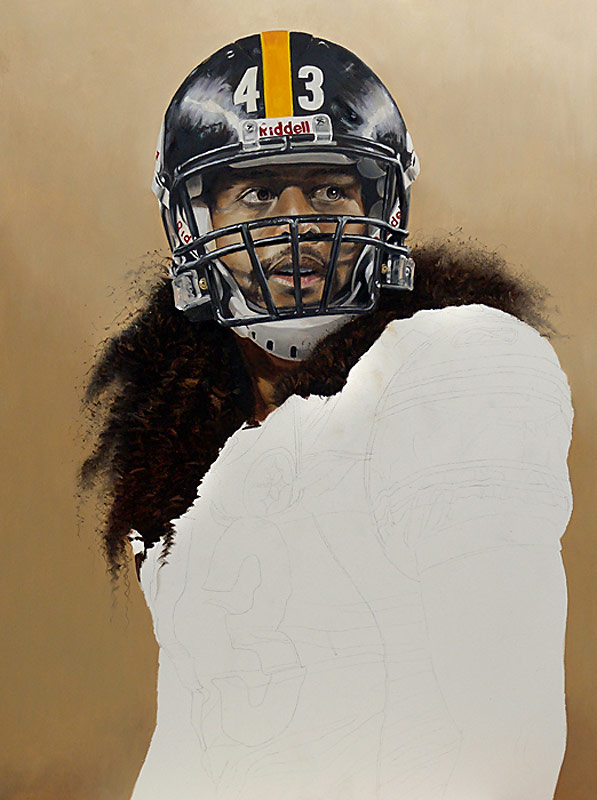
On version 5, I use a soft, bristled, blunt-ended brush. I stand the brush straight up and pretty much dab and blend all at the same time. Because of both things are wet, they tend to blend together to form a nice transition between background and hair. This is why I painted the background first. I have roughed in many of the “fly-away hairs” and I will be adding more after the hair and background dry some. Now, onto the areas below.
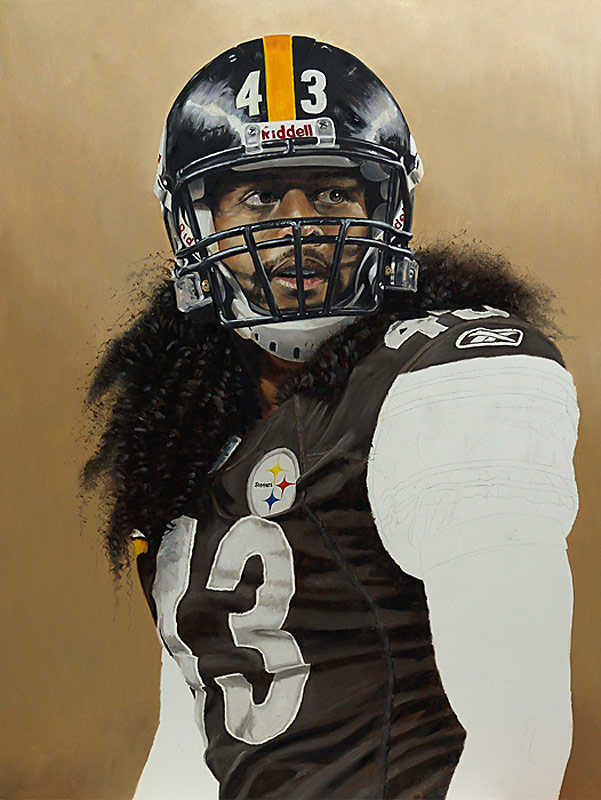
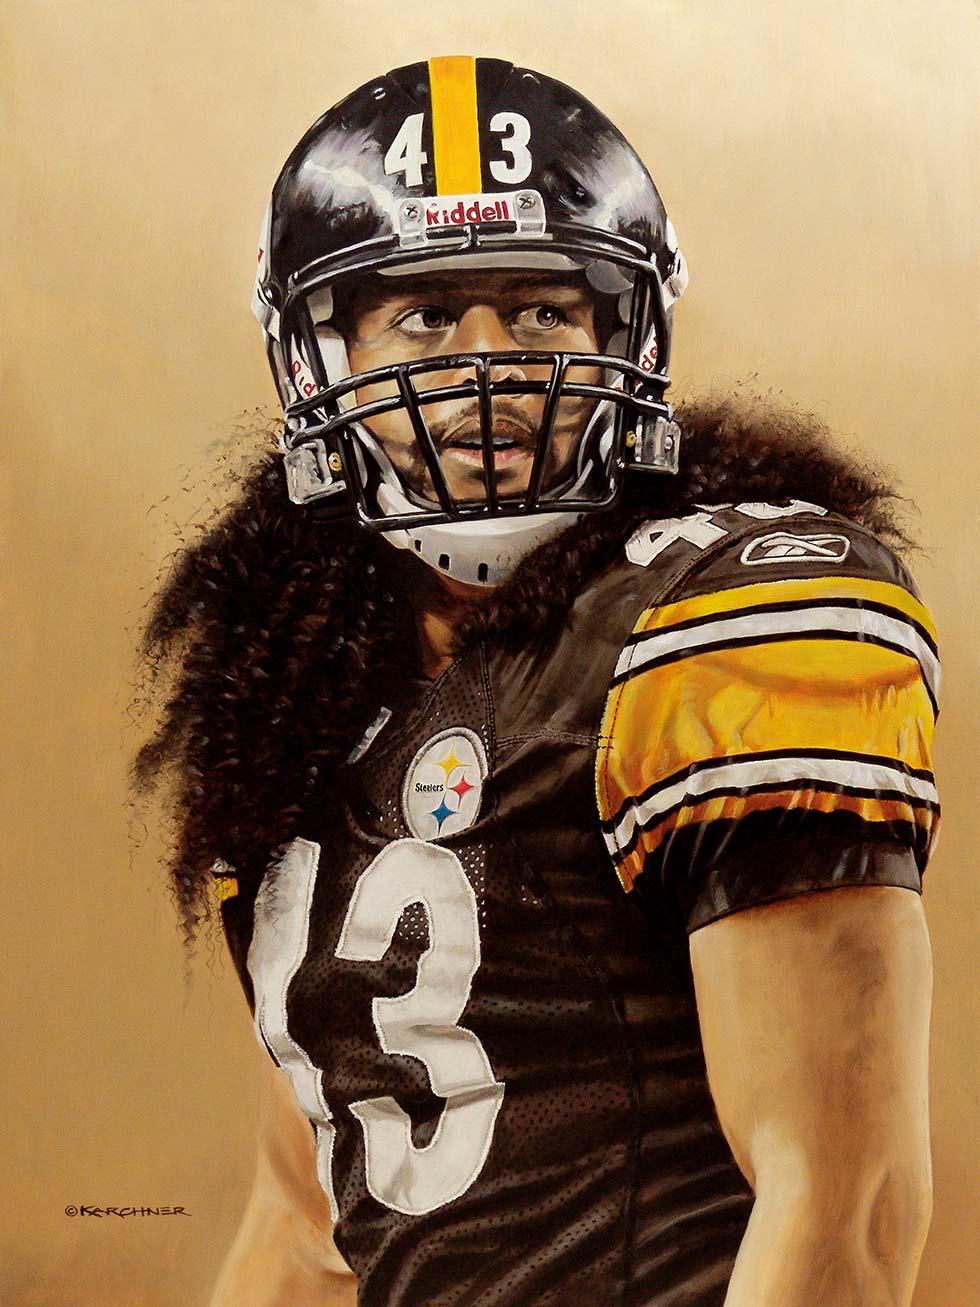
Here is version 6. As you can see I have roughed in the black areas of Troy’s jersey. When I say “rough,” this is extremely rough. I will smooth the whole thing out after the paint sets up slightly. I will add a lot more contrast. The shadow areas will be much darker. After this dries completely, I will do the tedious work of painting the hundreds of holes in the front panel of his jersey. Meantime, I will work the shoulder pad area. Nothing like a great “Steeler Gold” to make this whole piece “pop!”
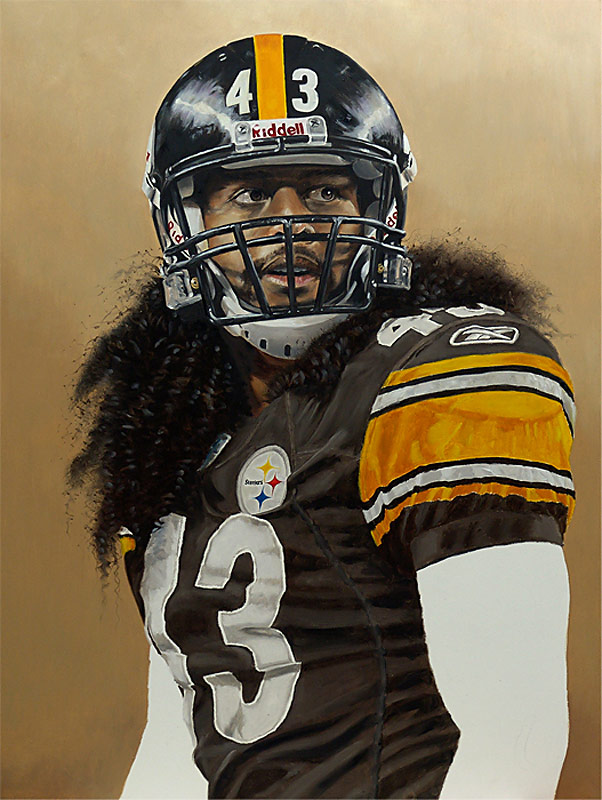
Version 7 as promised. Be it that many areas are still rough, it is starting to come together nicely. I will be detailing Troy’s jersey in version 8. There will another version or two after that.
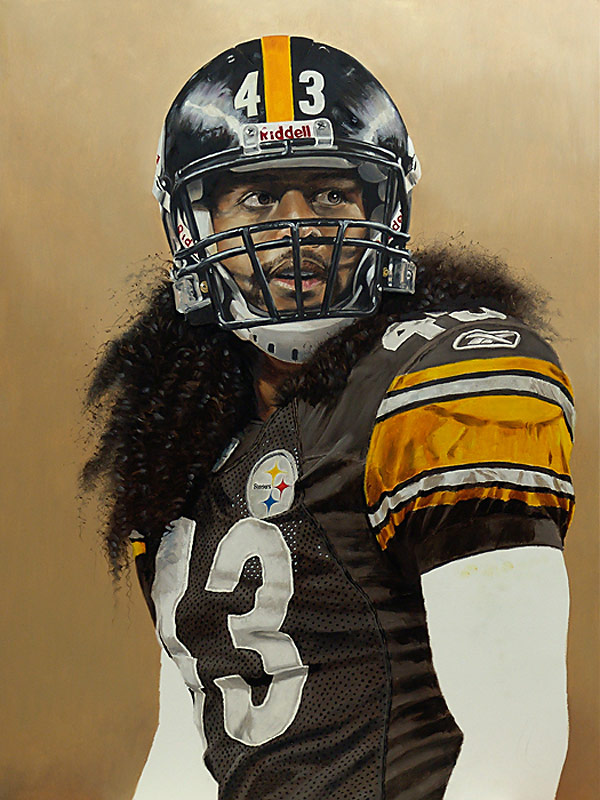
This is version 8. All that I got this evening is nothing but holes! My eyes are going buggy. I seem to get the effect I wanted. It is tough job getting the holes to look like they are in a perfect pattern even though there are many folds to paint around. Tomorrow should be the final. Stay tuned.
