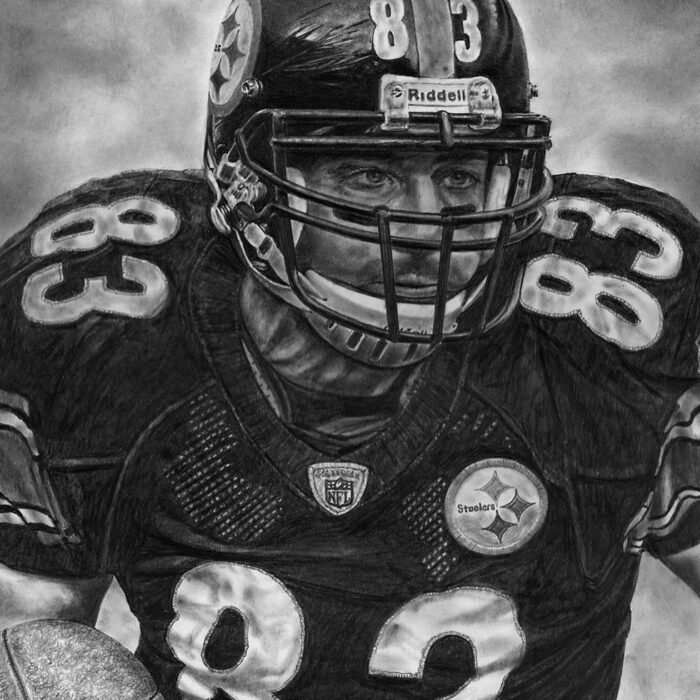
Earl Heath Miller Jr. (born October 22, 1982) is a former American football tight end…

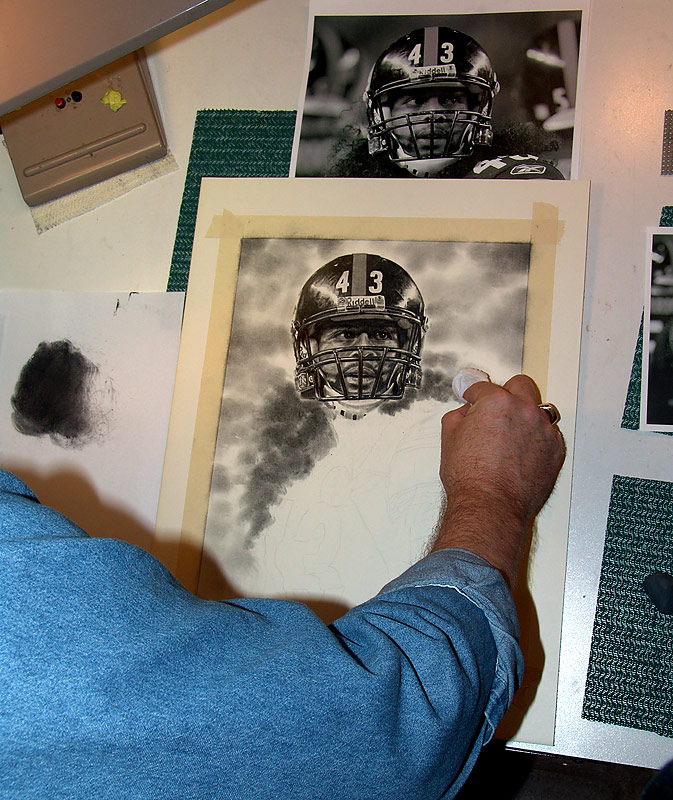
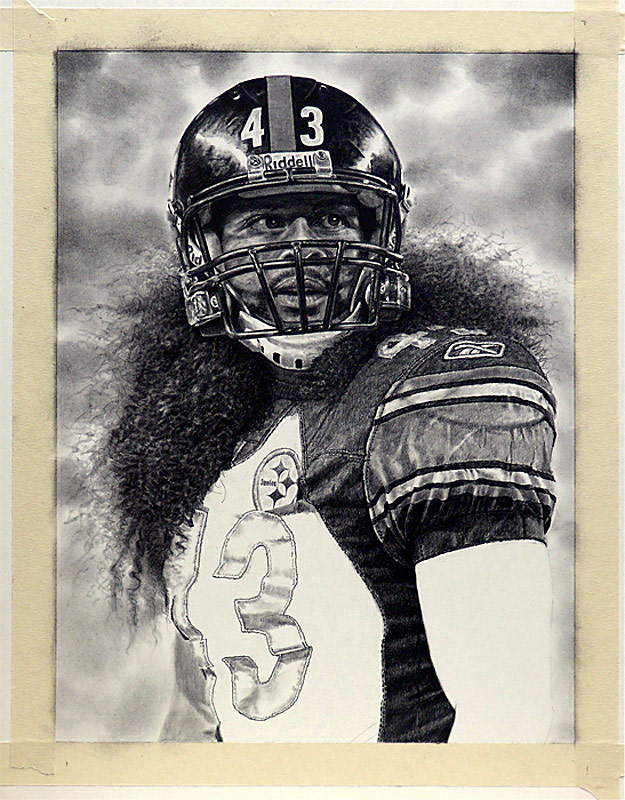
This is the first installment of the “work-in-progress” for Troy Polamalu’s pencil study. This will aid in the process of working into the oil painting that is coming next. The pencil study helps to work out any hard to see details and techniques to get the right textures, shading, shadows and so on. The overall image size is 10″ x 16″ where as the oil will be 18″ x 24″ overall. I started by hand-rubbing in the cloudy background. It is achieved by applying powdered charcoal using a Kleenex tissue on my index finger.
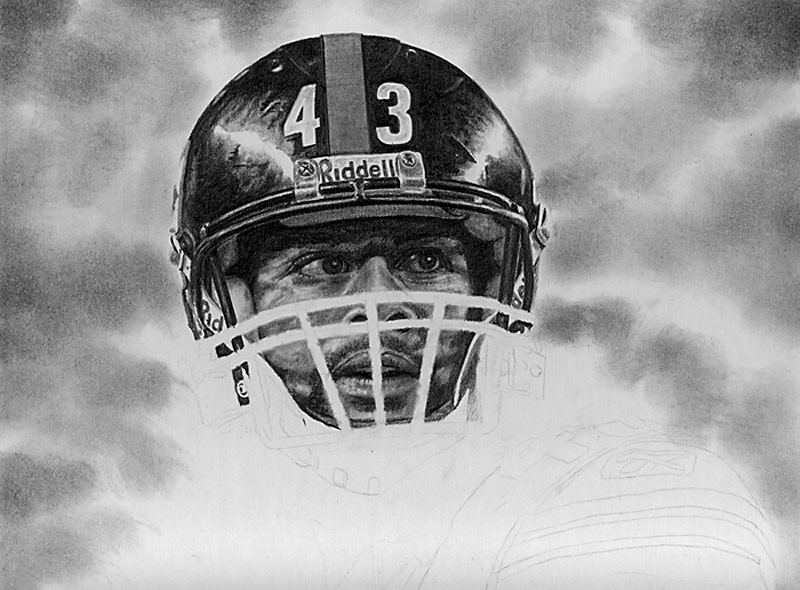
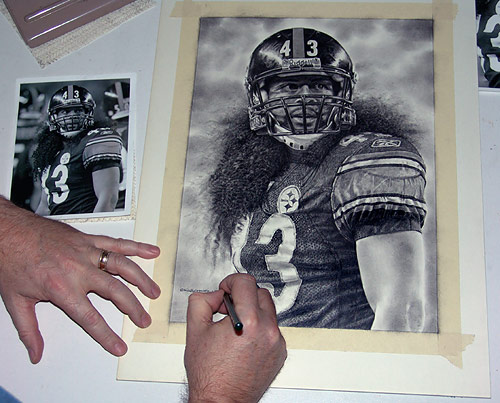
You can see the charcoal I am using on the piece of paper in the photograph below. Most of the actual drawing is done with German-made “Faber-Castell” drawing pencils. I use a very soft lead. The pencils are 6B and 8B grade. A normal “school pencil” is usually a 2B. This is how I am able to achieve the darkest of darks. It is very hard to keep a good point on the pencils and they do require frequent sharpening. Thank God for electric sharpeners!
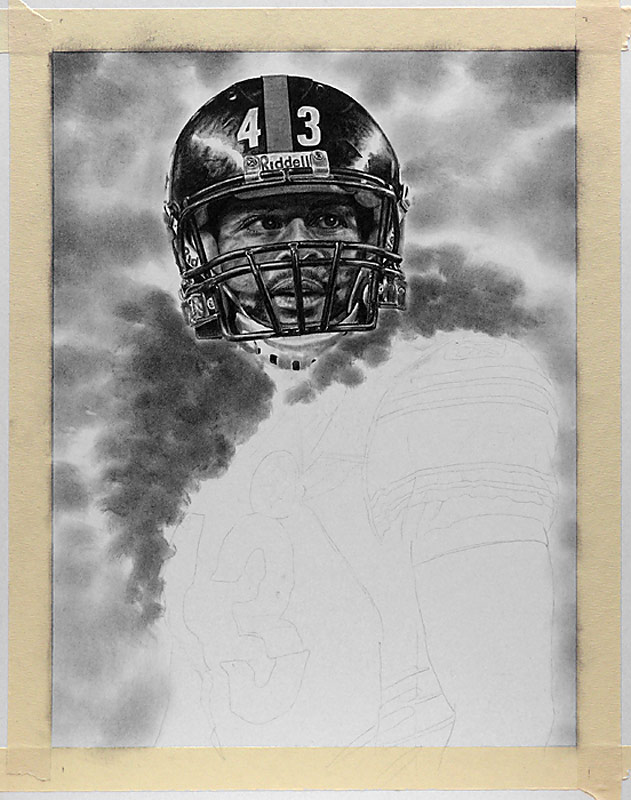
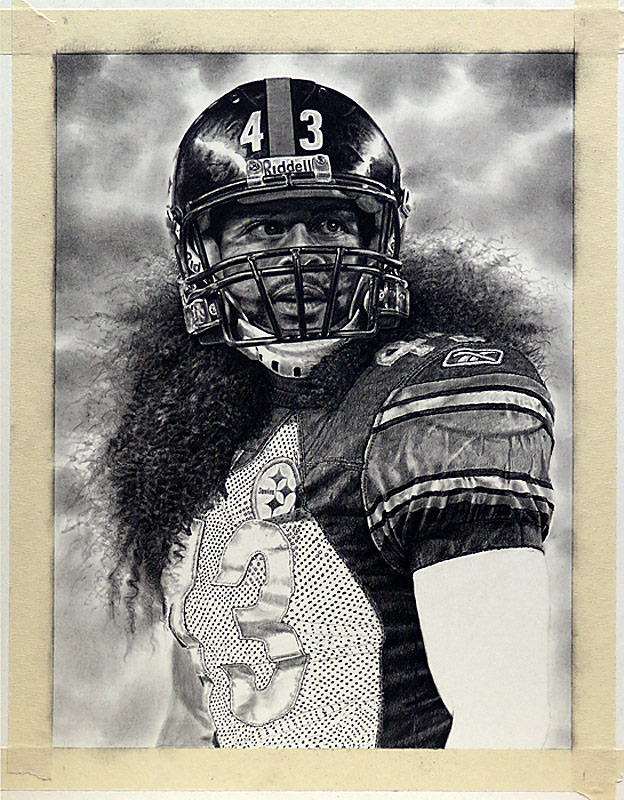
The first “work-in-progress” picture of Troy was done in 5-6 hours. In the second picture, I am 9-10 hours into the piece. I finished the last session by laying down a dark base for Troy’s hair. You can see me actually laying this area in on the last photo. I will be detailing the hair next.
This is my next session. What I call the “hair session” that is. I have roughly drew in the darkest areas of Troy’s hair with a 8B pencil. I pretty much drew right over the charcoal base that I laid down in version 2. It’s funny, I used to hate drawing hair, now it is one of my favorite things to do. I have more people ask me how I do the hair. The secret is to draw “between the hair” and not the hair, except on the ends.
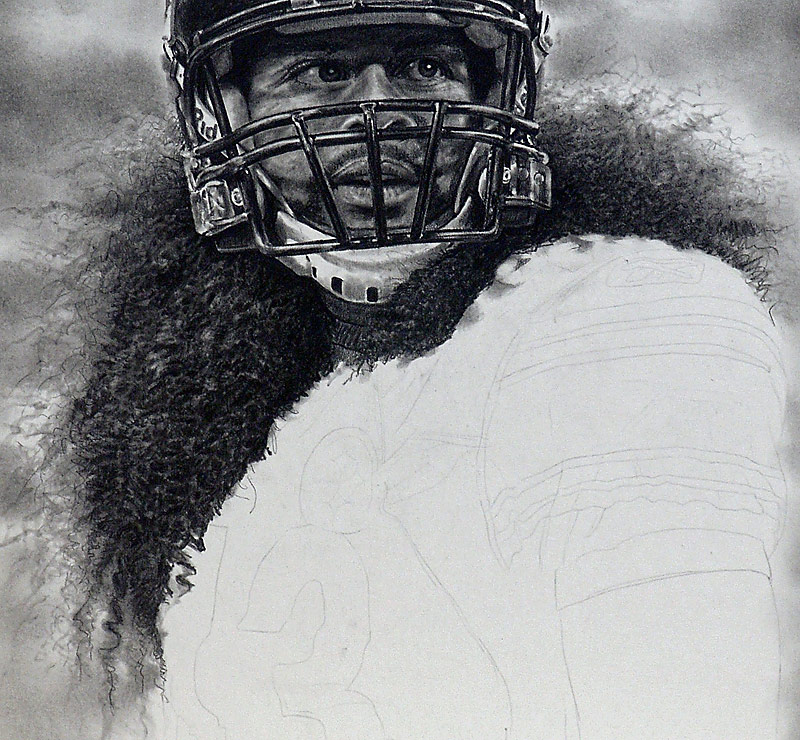
On this next step, I rubbed the shaded areas with a paper rub stick and smoothed out all the sharp edges on the shadows. A rub stick or paper “Blending Tortillon” as they are called, has somewhat of a point on the end. After I smooth all the pencil lead around, it coats the end pretty well. This is what I use to draw many of the wispy strands of hair. I also use a sharpened 4B pencil to finish off the remaining hair.
I will go in and smooth the hair a little more when I blend the hair into the background.
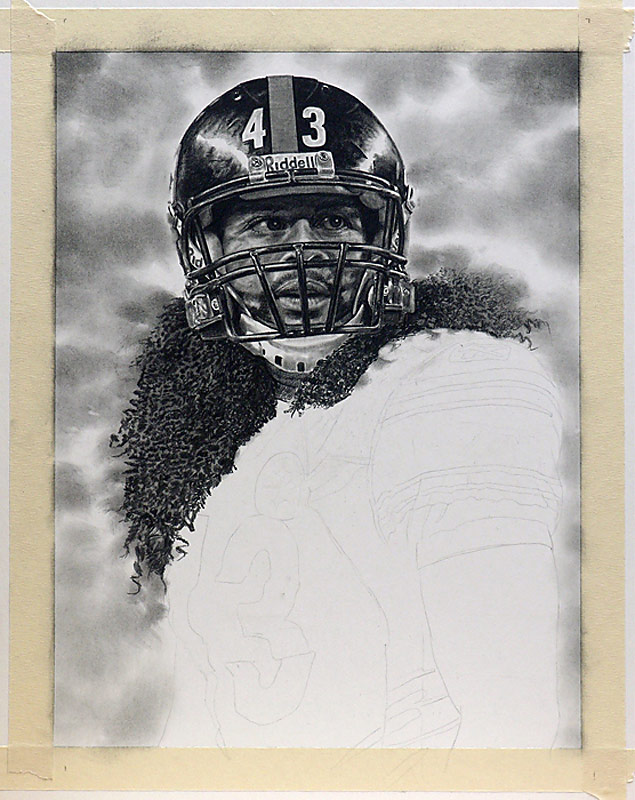
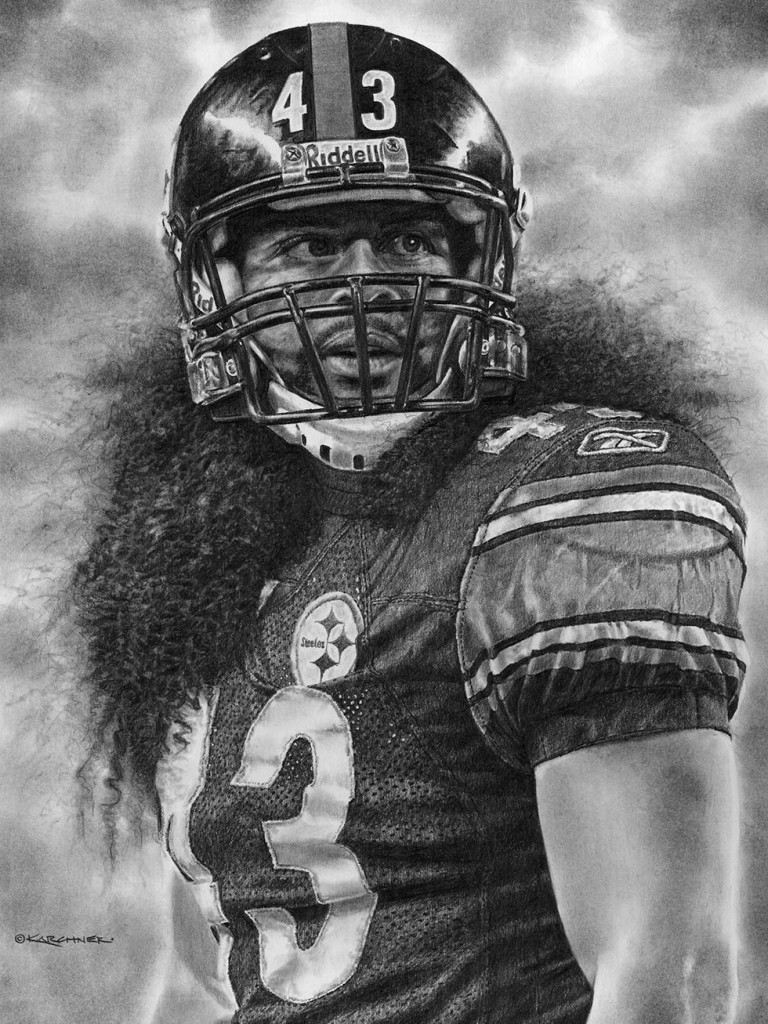
It is really hard to judge how long it takes to draw certain things in a piece. Case in point, rendering Troy’s hair, it took a lot less time to do than I figured. I really thought I would breeze through the shoulder pad area. It took almost six hours to just rough in this area. The stitching took a little longer than I thought. Things like the stitching will really get people’s attention. I have been asked many times how I am able to make something look so real. Right out of my mouth comes, “I draw what I see,” just that simple.

Just one little thing that I noticed is that it looks like the jersey is literally stuck to the shoulder pad. The big crease around the bottom of the hard pad would not usually form to that shape that tight. There are also some “tell-tale” wrinkles that look like that they were created by using a spray adhesive. Maybe I am just blowing smoke. Less chance of someone getting their hands on the jersey? Anyway, I like how the shoulder area is coming around.
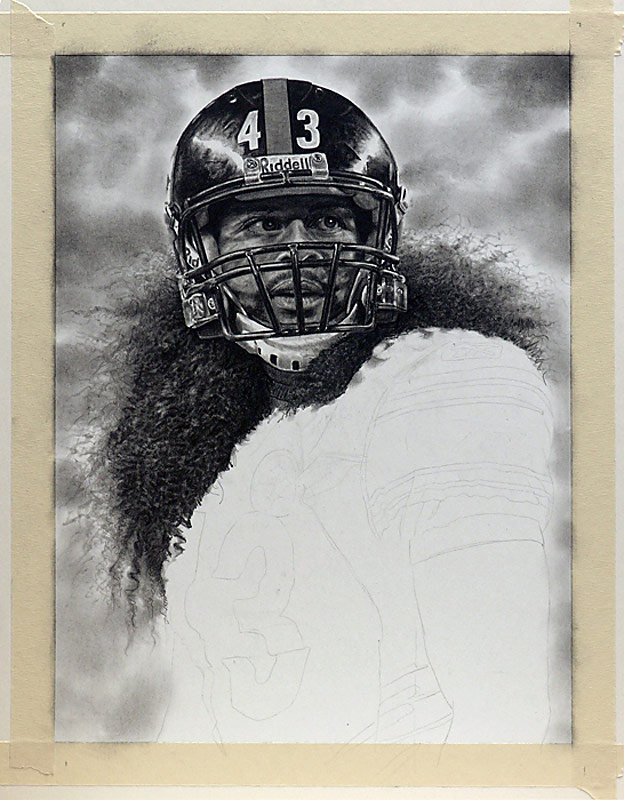
I am leaving the hundreds of mesh holes on the front of the jersey until last. The hardest challenge is last. I should have one more version before the final.
The Signing
The Final Piece
Related Posts